
name: TeamPCP Archived Credential Exfiltration via HTTP POST Analytic

signatureid: PXY-TELNYX1

category: 'Exfiltration'

threatname: 'Exfiltration Over C2 Channel'

functionality: 'Web Proxy'

description: |

Detects HTTP POST requests containing the X-Filename header value "tpcp.tar.gz", which is the consistent exfiltration signature used by TeamPCP across both the LiteLLM and Telnyx supply chain compromises. After harvesting credentials (SSH keys, cloud credentials, .env files, shell histories, cryptocurrency wallets, and Kubernetes tokens), the malware encrypts the collected data with AES-256-CBC, wraps the session key with RSA-4096, bundles both into a gzipped tarball named tpcp.tar.gz, and exfiltrates via HTTP POST with Content-Type: application/octet-stream and header X-Filename: tpcp.tar.gz. Independent validation on March 30, 2026 confirmed the exfiltration endpoint at 83.142.209.203:8080 remains active and accepting POST data even though payload delivery (GET) endpoints have been disabled. This rule targets the exfiltration header signature which is consistent across all observed TeamPCP campaigns.

reference:

- https://safedep.io/malicious-telnyx-pypi-compromise/

- https://www.stepsecurity.io/blog/teampcp-plants-wav-steganography-credential-stealer-in-telnyx-pypi-package

- https://cybersecuritynews.com/telnyx-pypi-package-compromised/

- https://www.helpnetsecurity.com/2026/03/27/teampcp-telnyx-supply-chain-compromise/

labels:

- attack.exfiltration

- attack.t1041

- attack.t1071.001

- TeamPCP

- Telnyx

- LiteLLM

- Supply Chain Attack

logsource:

product: Web Proxy

category: proxy

detection:

selection_exfil_header:

Method: POST

requesturl|contains:

- 'tpcp.tar.gz'

selection_exfil_c2:

Method: POST

destinationaddress: '83.142.209.203'

selection_content_type:

Method: POST

destinationaddress: '83.142.209.203'

requestclientapplication|contains:

- 'curl'

condition: selection_exfil_header or selection_exfil_c2 or selection_content_type

criticality: Critical

saveasthreat: True
Creating Policies in Securonix
If you have never created a policy in the Securonix platform, this section will guide you through building the detection logic above into something usable in your SIEM.
For specific documentation please refer to this helpful guide from my github repo I used during DetectCON this year:
https://github.com/fluffybunnies-h4x/DetectCON2026/blob/main/SecuronixPolicyCreation.md
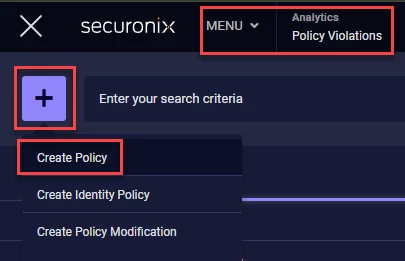
First, lets navigate to the Policy Violations section in the Security Command Center Menu. Click the ‘ + ‘ icon and then click the ‘Create Policy’ context menu option
Now lets fill in some of the initial details of the policy based on the detection logic above
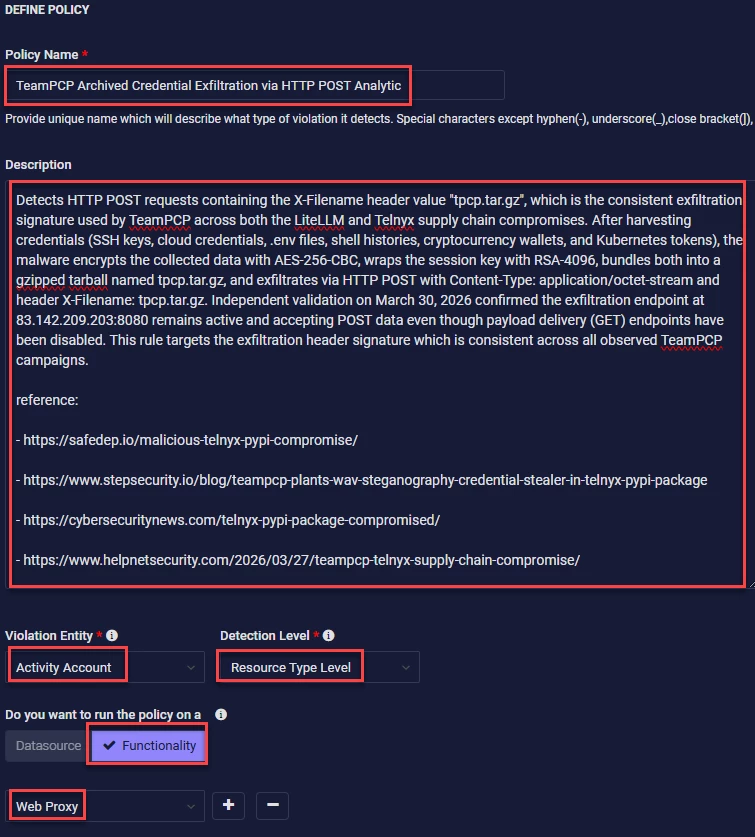
The next section of the initial details can be filled in however you or your organization wants to define the risk and threat of this policy. However, I am going to use what’s in the provided detection

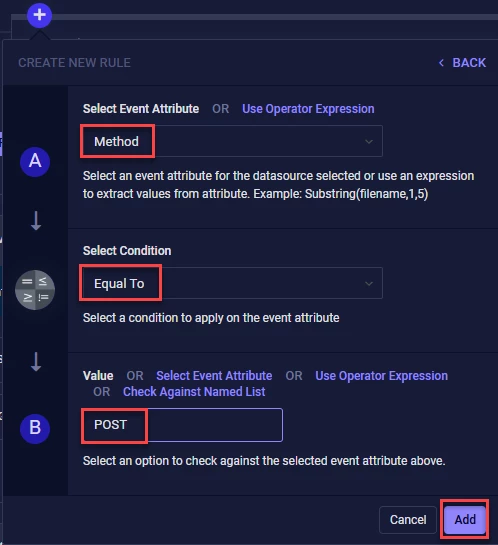
Since this isn’t going to be a very complex policy we will use Individual Event Analytics or IEE for short. Then we will click the ‘ + ‘ icon
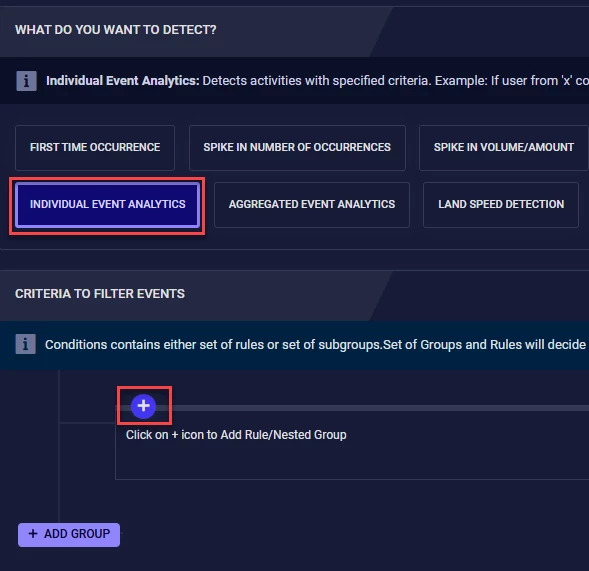
This will be the first actual portion of the detection logic above
detection:

selection_exfil_header:

Method: POST

requesturl|contains:

- 'tpcp.tar.gz'
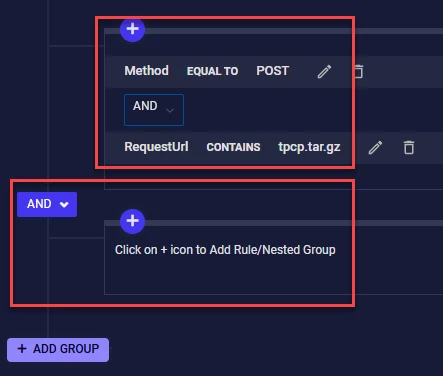
This is only the first group of our policy. The detection logic calls for THREE detection groups
condition: selection_exfil_header or selection_exfil_c2 or selection_content_type
Now we need to click the ‘ADD GROUP’ button to build the next two detection groups. Follow the same process for the first group.
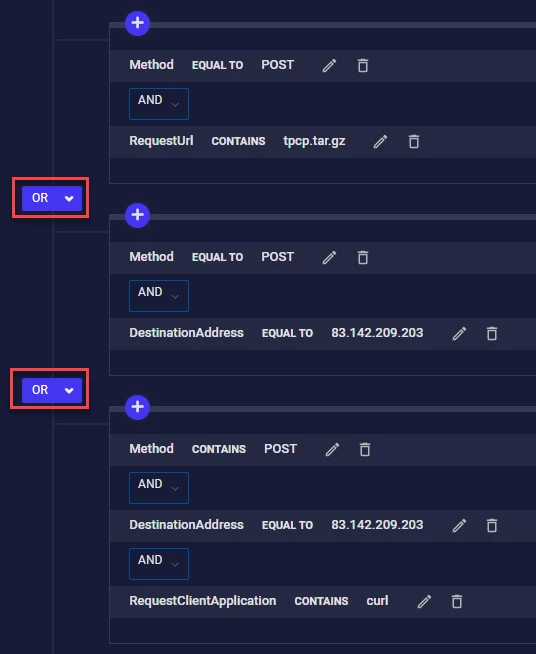
Take special note to the AND / OR logic within and between the detection groups. This can make or break your detection logic as well as open up the policy to generating a TON of false positives. Now click ‘Save & Next’ in the upper right corner
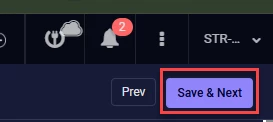
The RISK SCORING TECHNIQUE is up to you and your organization as to how you want to implement this policy. Click ‘Save & Next’.

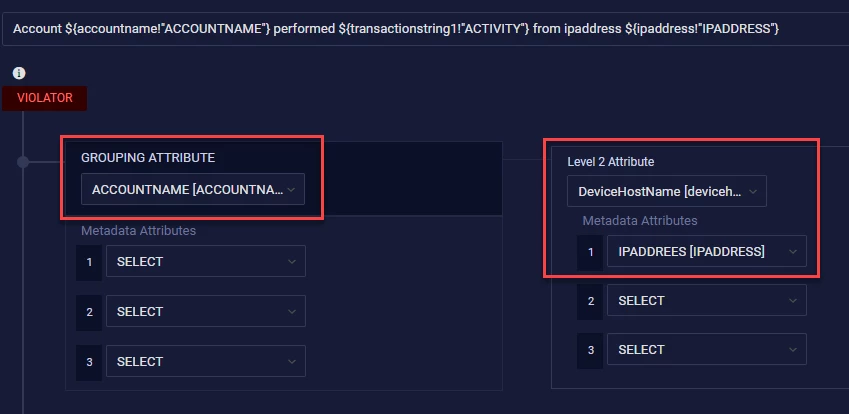
There’s a LOT of options in the CONFIGURE THE VIOLATION INFORMATION SUMMARY section of policy building. You can get VERY creative with the options here. I’m going to stay fairly basic here since if this policy fires from my Web Proxy device I am mostly concerned with which account performed the action and which host did it come from so I can quarantine that host.
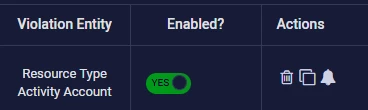
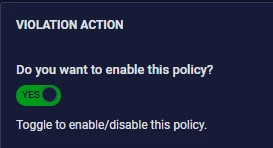
And of course we are going to enable the policy
And that’s it - Click ‘Save’ and you’ll have your policy up and running!